Professional-Grade Gluten Free Flours | Vegan & Allergy Friendly | Australia-Wide Delivery


· By R2R Team
Gluten-Free Crumbed Chicken with a Coating That Stays On
There are few things more frustrating in gluten-free cooking than watching a beautifully crumbed piece of chicken lose its coating the moment it hits the pan. The crumbs slide off, the crust burns before the chicken is cooked thoroughly, or it becomes soggy in a matter of minutes. If that sounds familiar, you are not alone.
Gluten free crumbed chicken is one of the most searched recipes in the gluten-free community and one of the most misunderstood. The good news is that getting a golden, crunchy coating that genuinely stays on is entirely achievable. No special equipment or hard-to-find ingredients are needed. What it requires is understanding why gluten-free breading behaves differently from conventional breading and making a few deliberate adjustments to your method.
This blog walks you through everything: the science of coating failure, the proper ingredients (including gluten free plain flour), a reliable three-station technique, and the one resting step that makes all the difference.
Why Does Gluten-Free Breading Fall Off Chicken?
To get better results, it's important to understand what is going wrong. There are four primary reasons why gluten-free breading doesn't work.
-
Surface Moisture
Excess liquid on the surface of the chicken is the most common culprit. If a chicken is wet when put on a hot pan, the water on the chicken surface creates a barrier between the chicken and the coating. This steam literally pushes the crumbs away from the chicken before they set. The chicken will need to be patted dry before it is covered.
-
Skipping the Flour Anchor
If you're a home cook, you might skip the flour step and go straight from raw chicken to egg wash. This is a big error. Egg wash applied directly to bare, slightly wet meat simply cannot grip the surface.
The anchor layer is a good gluten free plain flour; it provides the crumbs with something solid to which the egg can bind, and it is used to create a dry, textured crust on which the egg will adhere. If you omit this step, the entire coating system fails.
-
Temperature Shock
People don't realise how important oil temperature is. Cold oil retains fat in the crumbs and causes them to fall off before crisping. Oil that is too hot will burn outside coating before the inner egg layer has an opportunity to set and stick to the crumb.
The ideal frying temperature for gluten free crumbed chicken sits around 175°C (350°F), hot enough to crisp the outside of the chicken quickly but not so hot that the coating is lost.
-
No Resting Time
This is the one step most recipes skip. The starches of rice flour, tapioca and maize starch are slower to hydrate than wheat flour. Without resting time after crumbing, the coating sits loosely on the surface.
Give it 10 to 15 minutes, and those starches absorb moisture from the egg wash, swell slightly, and form a cohesive, tacky seal that holds the crumbs firmly against the meat during cooking.
The Essential Ingredients for Golden, Crispy GF Crumbed Chicken
The key to getting the right result is to have the right ingredients at every step. Think of the crumbing process as three stations working together.
-
Chicken Base
Almost any part of the chicken is suitable for gluten free crumbed chicken, including breast cutlets, tenders or thigh meat. If you want to cook the chicken evenly and get a nice thin, even crust, especially when making a gluten free chicken schnitzel, take the chicken slices and cook them horizontally, then pound them down to about 5 mm thick between two sheets of baking paper. Add salt and pepper to raw chicken just before coating.
-
Station 1 (The Anchor)

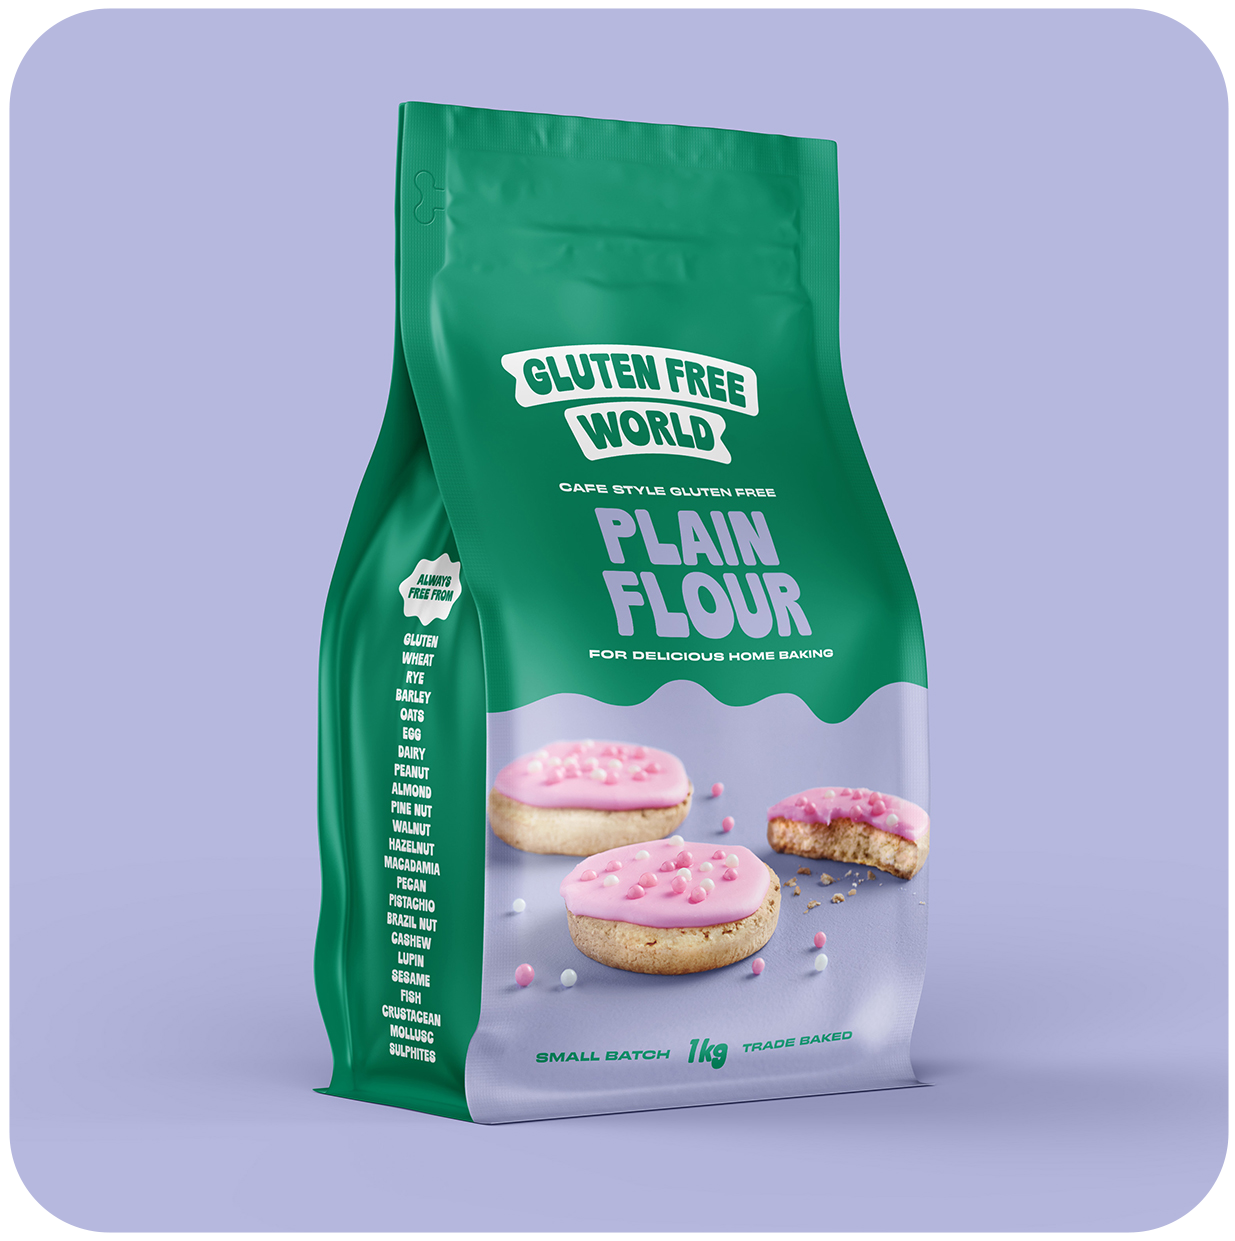
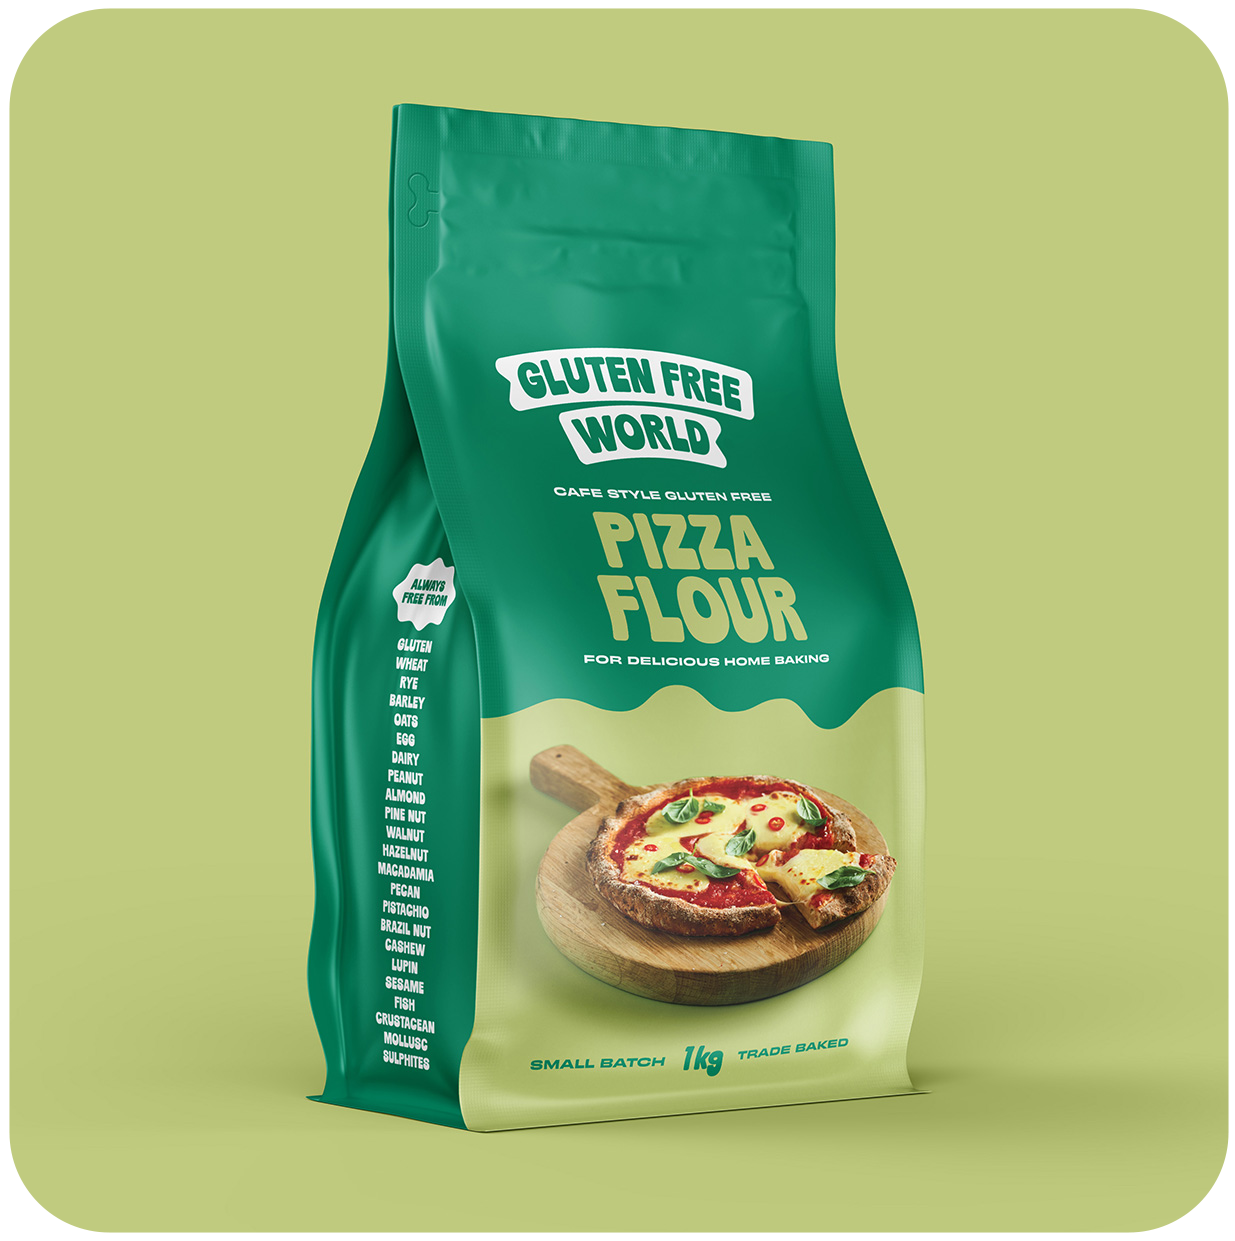
This is where gluten free plain flour is very important. Gluten Free World Plain Flour or GF pizza flour for additional binding starches, seasoned with salt, garlic powder, cracked black pepper, and smoked paprika, creates a dry, flavoured base that grips every surface of the chicken. We stock purpose-formulated flour blends specifically designed for exactly this kind of application.
-
Station 2 (The Glue)
Egg wash is made from two large eggs beaten with one tablespoon of milk (or a plant-based milk alternative) that is used to hold the flour layer to the crumb layer. During cooking, the protein in the egg coagulates and keeps it held together.
-
Station 3 (The Crunch)
Gluten-free breadcrumbs, gluten-free panko, or crushed gluten-free cornflakes each produce a slightly different texture; panko gives the lightest, crispiest result, while cornflakes add extra crunch and colour. Finely grate the parmesan or dry herbs and add them to the crumb mixture to add flavours and to ensure an even brown.
-
Cooking Oil
Use a high-smoke-point oil: olive oil or rice bran oil are good options. Oils with low smoke points will burn at frying temperatures, giving off unwanted flavours and creating an uneven cook.
Discover Our Full Gluten Free Product Range
Shop with confidence. See full product info, certifications, and the best Gluten Free Flours for your next bake.
Step-by-Step: The 3-Station Dredging Station Technique for Gluten-Free Crumbed Chicken
Step 1: Prep & Dry the Chicken
Dry off the chicken on all sides with paper towels. Cut into a uniform 5 mm thickness. Season with salt and pepper. Do not skip the drying step; it is the foundation of everything that follows.
Step 2: Set Up Your 3 Bowls
Lay out your stations in order before you begin:
-
Bowl 1: Seasoned Gluten Free World Plain Flour
-
Bowl 2: Whisked egg and milk mixture
-
Bowl 3: GF breadcrumbs combined with herbs or spices
By preparing everything in advance, you will be able to proceed through the coating process without pauses, ensuring uniformity of the layers.
Step 3: The Double-Hand Method
Use one hand exclusively for dry ingredients (flour and crumbs) and the other hand exclusively for wet ingredients (egg wash). This will keep the coating layer from clumping on your fingers and maintain clean, even coats.
Dust the chicken with the flour, shake off the excess, dip into the egg wash, remove excess egg wash, and press the chicken firmly on both sides of the crumb mixture. Press, do not pat. This even pressure makes sure that the crumbs are not laid loosely on the egg layer.
The Secret Weapon: The 10-Minute Resting Rule
-
Why It Works
Wheat flour contains gluten, which begins binding almost immediately when it contacts moisture. The starches that are gluten-free (rice flour, tapioca starch, and maize starch) function in a different way. They must be allowed to swell and absorb moisture. If the meat is crumbled too quickly, then the coating isn't fully bonded with the meat and will flake off as soon as it gets hot.
This is one reason gluten free crumbed chicken has a reputation for being difficult, but it is entirely avoidable.
-
The Technique
When crumbling, position each piece of chicken on a wire rack in a baking dish. Let the chicken cool at room temperature for 10-15 minutes. If you are preparing ahead, you can refrigerate crumbed chicken for up to 30 minutes, which will help to set the coating.
-
The Result
During resting, the gluten free plain flour absorbs moisture from the egg wash and begins to form a cohesive, slightly tacky bond with the surface of the meat. The coating is "sealed" by the time the chicken is put into the pan. This one simple step is what makes the difference between a crust that collapses and the one that does not.
3 Ways to Cook Gluten-Free Crumbed Chicken
1. Shallow Pan-Frying
Heat approximately 1.5 cm of oil in a heavy-based pan to 175°C (350°C). Cook chicken for 3-4 minutes on each side, until cooked through to an internal temperature of 75°C (165°F). A wire rack is best for resting (not paper towels) to ensure the bottom crust is crispy. The result is a deep golden, pub-style gluten free chicken schnitzel.
2. Air Fryer Method
Preheat air fryer to 200°C (390°F). Oil-spray both sides of the crumbed chicken; this is a must if you want it to get good and browned in an air fryer. Cook for 10-12 minutes, turning halfway through. The end product is a lighter, lower-fat version and a very crispy outside.
3. Oven-Baked Method
Preheat the oven to 210°C (fan-forced 410°F). Serve on a tray lined with baking paper or on a lightly oiled wire rack for more air circulation. Bake for 15 to 18 minutes or until it becomes golden and crisp. This method works particularly well when cooking larger batches of gluten free crumbed chicken for the whole family.
Pro Tips from Gluten Free World's Kitchen
-
Don't Overcrowd the Pan
If too many pieces are added, the temperature of the oil will drop. As the temperature of the oil drops, crumbs absorb fat rather than crisping, and the coating becomes soft. Cook in small batches and allow the oil to return to temperature between each one.
-
Use a Wire Rack for Cooling
When you let cooked chicken cool on paper towels, steam will collect under the crust, leaving the bottom of the chicken soft and not so great to eat. A wire rack lets air pass around the whole item, maintaining crispness of the crust on all surfaces.
-
Egg-Free Alternative
If the egg is not used, a slurry of ingredients can be used as a binder, such as Gluten Free World Plain Flour and water or unsweetened yoghurt. The yoghurt option provides a slight tang and can brown more evenly than a flour-water slurry.
-
Freeze for Later
This technique scales well for meal prep. Flash-freeze crumbed, uncooked cutlets flat on a baking sheet, then transfer to a labelled freezer bag. Use the oven or air fryer to cook from frozen, adding a few minutes to the cooking time. It is one of the most practical ways to keep quick, homemade gluten free crumbed chicken accessible on busy weeknights.
Discover Our Full Gluten Free Product Range
Shop with confidence. See full product info, certifications, and the best Gluten Free Flours for your next bake.
Conclusion
Achieving perfect gluten free crumbed chicken or a restaurant-quality gluten free chicken schnitzel at home is not a matter of luck; it is a matter of method. Thoroughly dry the meat, coat it with a good quality gluten free plain flour (as an anchor layer), press the crumbs into the meat, and let the coated chicken rest before cooking.
Follow those steps consistently, and the coating will stay on, crisp up beautifully, and deliver results that rival anything made with conventional wheat flour.
Stock your kitchen with our plain flour by visiting our website.
