Professional-Grade Gluten Free Flours | Vegan & Allergy Friendly | Australia-Wide Delivery


· By R2R Team
Gluten-Free Waffles: Crisp Outside, Fluffy Middle
Quick Answer
The secret to gluten free waffles that are crisp on the outside and fluffy on the inside comes down to three factors: using a high-quality, balanced blend like Gluten Free World Plain Flour, resting the batter for 5–10 minutes before cooking, and placing cooked waffles on a wire rack instead of a plate.
If you've tried making gluten free waffles at home and ended up with something dense, gummy, or limp within minutes of leaving the iron, you're not alone. This is one of the most common and frustrating things for people with coeliac disease or gluten intolerance, and it usually comes down to two things: the wrong flour blend and the wrong technique.
The good news? You can easily make gluten free waffles at home. Whether you're starting from scratch or working with a ready-made gluten free waffle mix, a few tips can help you create a crispy, light and airy centre every single time.
Gluten Free World is a product of Australia, which is created based on this very challenge. Made by chef Paul, each flour blend is triple-tested in an allergy-safe facility to guarantee it is coeliac-safe without compromising taste or texture.
The Science of the Perfect Gluten-Free Waffle
By understanding why traditional waffle recipes fall apart without gluten, you'll be able to solve the problem at the base, and you'll get them right every time.
➢ Why Traditional Waffles Fail Without Gluten
A typical waffle recipe uses a gluten network, which is formed when wheat flour meets water and provides structural elasticity. It captures the steam that is released when the waffle is cooked so that it puffs up and keeps its shape. Without it, the batter has no built-in scaffolding.
Gluten-free batters rely instead on a combination of starches and proteins to do the same job. When poorly balanced, the result is either a dense, heavy waffle (too much starch, not enough lift) or a fragile, crumbling one (not enough binding).
➢ Why Blend Choice Matters

Some gluten free waffle mix aren't created equal. The structural gap is filled by a well-formulated blend, which consists of several starches used for crispness, proteins used for binding, and leavening agents used for rise. Starches, such as rice flour or tapioca, provide the crispy gluten free waffle shell you're looking for, and protein sources, such as eggs, added binders, or protein-enriched flours, ensure the airy, tender centre.
That's why a specially formulated gluten free plain flour or self raising flour blend, will work much better than single-ingredient flour substitutes like almond flour or plain rice flour.
➢ Role of Hydration
Gluten-free flours will take longer to absorb liquid than wheat flour. If you don't give them a little rest time, the starches will not absorb enough water to make the waffle smooth and uniform. This is nearly eliminated with a 5-10 minute rest period before cooking and is one of the easiest waffle improvements you can make.
Recipe for Gluten-Free Waffle for Crisp Outside, Fluffy Middle
➢ Ingredients Breakdown
Dry Ingredients
-
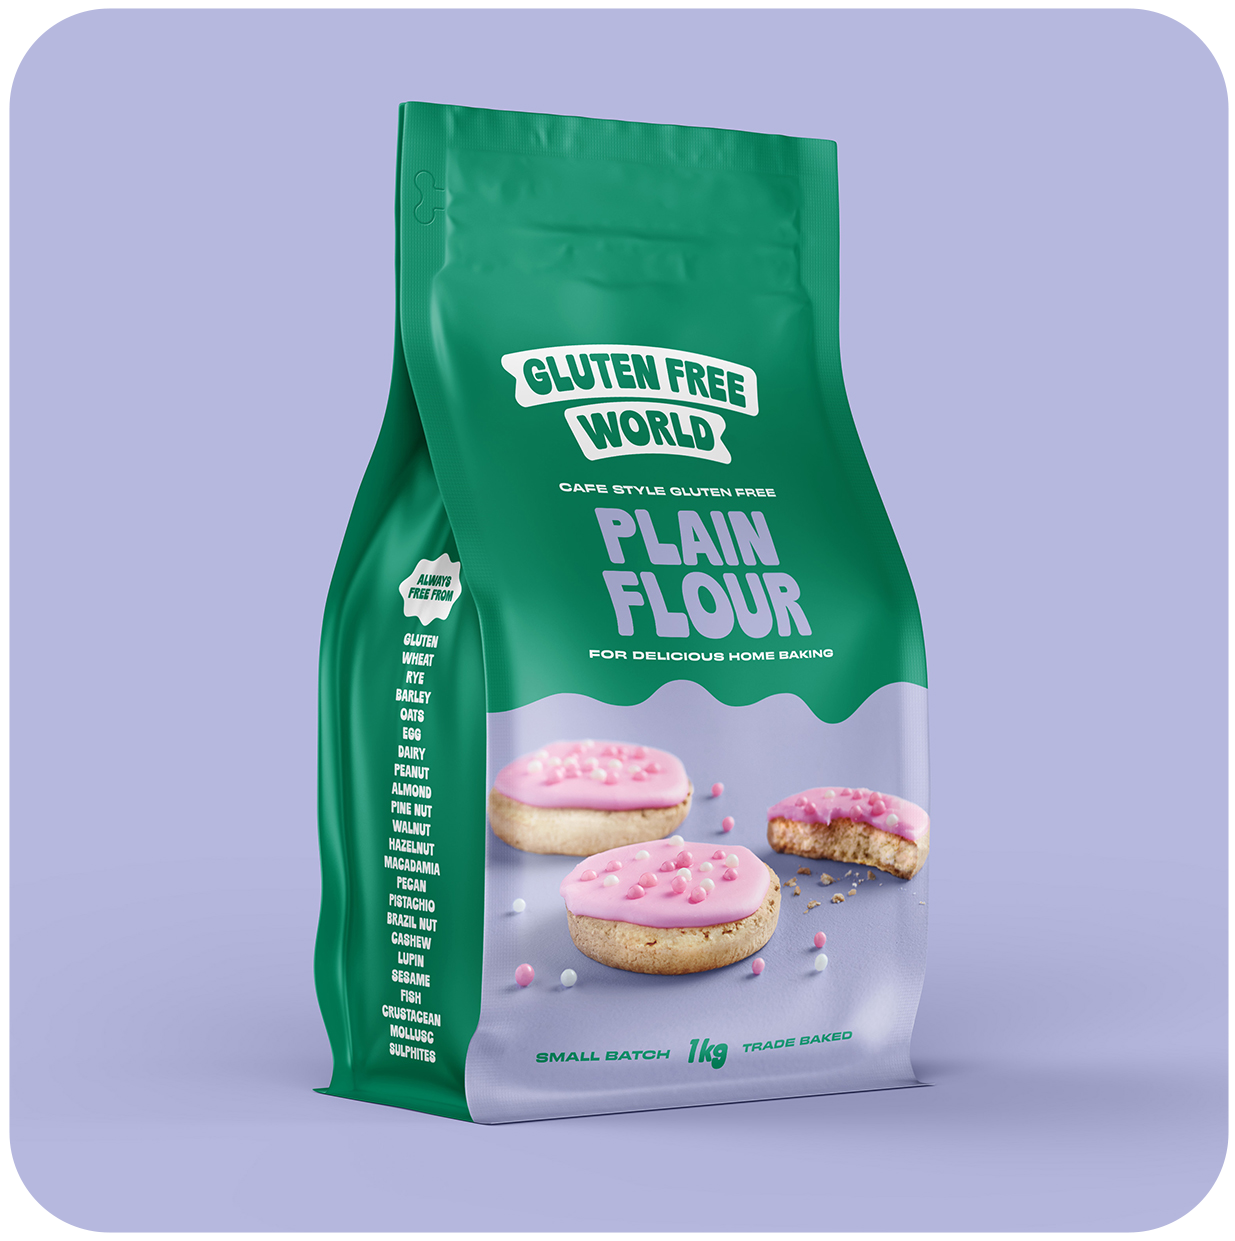
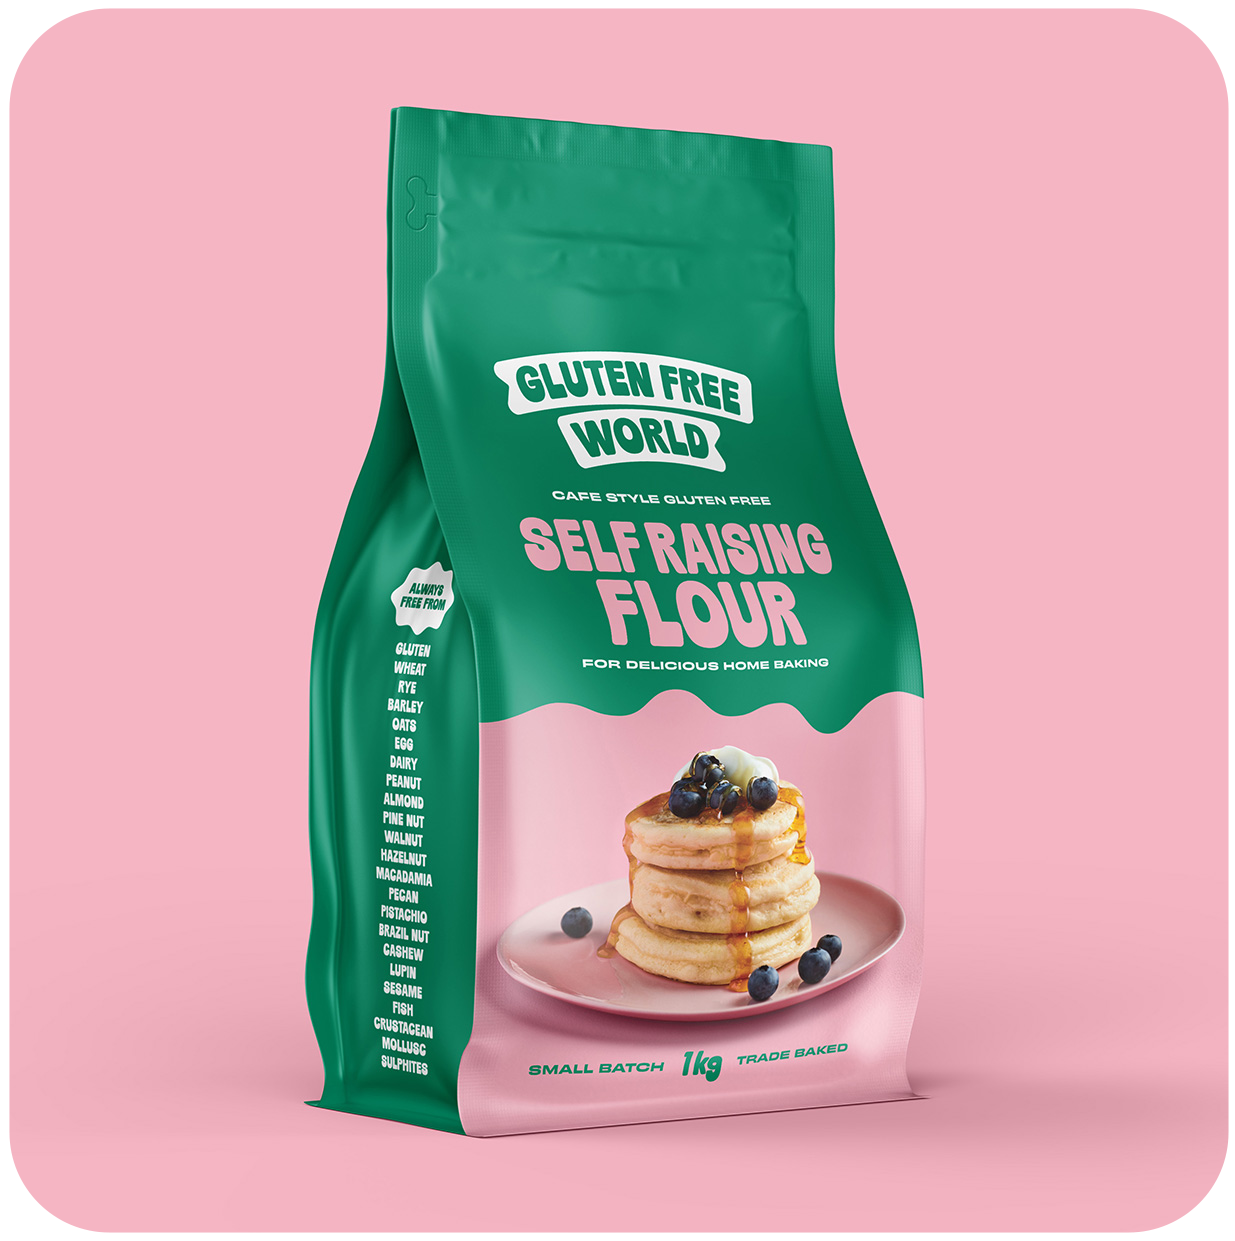
Gluten Free World Plain Flour (or Self Raising Flour): The non-negotiable foundation of any great gluten free waffle recipe. This mix is designed to have a steady texture without the gummy effect of gluten-free substitutes using a single starch.
-
Cornstarch or Tapioca Starch (Optional Crunch Boost): Adding 1–2 tablespoons per cup of flour will enhance outer crispiness by increasing starch concentration at the waffle's surface during cooking.
-
Baking Powder & Baking Soda: This provides the proper expansion and even air pockets throughout the waffle.
-
Pinch of Salt & Sugar: Salt enhances the overall taste, and a little sugar ensures the golden-brown caramelisation that signals a properly cooked waffle.
Wet Ingredients
-
Milk (or Dairy-Free Alternative): Whole milk produces the richest result, but almond, oat, or soy milk all work well without significantly altering the batter's texture.
-
Melted Butter or Neutral Oil: Fat coats starch particles during mixing, giving a tender crumb inside and a crispy crust on the outside. Neutral oils like rice bran or light olive oil work as a dairy-free alternative.
-
Eggs (or Flax Eggs/Egg Replacer): Eggs bind the batter and support structural rise. For vegan waffles, a commercial egg replacer or a flax egg performs reliably.
-
Vanilla Extract: Adds depth and warmth and that subtle café-grade aroma that elevates a simple waffle to something worth eating slowly.
➢ Step-by-Step Instructions
Step 1: Whisk the Dry Blend
In a large mixing bowl, mix our plain flour or self raising flour, baking soda, salt, baking powder and sugar. Whisk thoroughly to distribute the leavening agents evenly. Uneven distribution leads to inconsistent rise across the waffle surface.
Step 2: Combine Wet Ingredients
In another jug or bowl, whisk together room-temperature milk, eggs, oil or melted butter, and vanilla extract.
-
Pro Tip: Keep wet ingredients at room temperature before mixing. When cold milk is added to melted butter, the butter will firm up into small lumps, thus altering the texture of the batter and the way fat is distributed during cooking.
Step 3: Fold Batter & Rest
Add wet ingredients in dry ingredients and fold with a spatula until just combined. A few small lumps in the batter are normal and acceptable; overmixing develops too much air initially and results in a tougher texture.
-
Crucial Step: Give the batter time to rest uncovered in the remaining 5-10 minutes while you heat the waffle iron. This will help the gluten-free starches to absorb moisture completely and thus remove any grainy texture and create a smoother, flatter waffle.
Step 4: Cook to Golden Perfection
Lightly oil the waffle plates with a neutral oil or cooking spray. Pour the batter onto the centre of hot waffle maker, spreading it gently towards the edges.
Cook until steam no longer escapes from the sides of the waffle maker, about 4-5 minutes depending on the waffle maker. Do not open the lid early. If you lift the top before the waffle is set in place, the top will split off and stick to the bottom.
Step 5: Cool on a Wire Rack
Immediately transfer cooked gluten free waffles to a wire cooling rack. Do not stack them on a flat plate. In just minutes, the trapped steam under softens the base and damages the crispy exterior. A wire rack will allow air to circulate all around the iron, keeping the crunch good from iron to plate.
Discover Our Full Gluten Free Product Range
Shop with confidence. See full product info, certifications, and the best Gluten Free Flours for your next bake.
Competitor-Backed Secrets for Maximum Crispiness
These techniques are consistently reinforced by professional bakers and food scientists working with gluten-free formulations. Apply all of them together for the best results.
-
Never Skip Preheating
A fully preheated waffle maker creates an immediate burst of high surface heat when the batter makes contact, setting the exterior into a crisp shell before the interior has fully cooked. Adding batter to a lukewarm iron guarantees a pale, soft result, the opposite of what you're after.
-
Watch the Steam
If the steam is coming out of the sides of your waffle maker, it means there's still water evaporating from the batter. When steam stops, the waffle is close to done. Waiting for this visual cue rather than guessing by time alone produces far more consistent results across every batch.
-
Use a Wire Cooling Rack
When it comes to making crispy gluten free waffles, airflow is key. When waffles are placed on a flat surface immediately after cooking, the steam is trapped, causing the shell to soften within minutes of cooking. That crunch from the iron to the plate is all maintained with a standard cooling rack.
-
Oven Flash-Finish
For ultra-crispy edges, transfer cooked waffles directly onto an oven rack (not a tray) and bake at 180°C (350°F) for 2–3 minutes. This helps to eliminate any surface moisture and sets the crunch, which is helpful if you are making a large batch of waffles and the later waffles need to hold while the first ones cool.
-
Add Carbonated Water
Substituting a small portion of the milk with sparkling or carbonated water introduces additional CO₂ bubbles into the batter, creating extra lightness in the interior without affecting flavour.
Dietary Variations & Substitutions
-
Dairy-Free Waffles
Replace regular milk with alternative milk such as soy, almond, or oat milk. Use coconut oil or a good-quality dairy-free butter in place of butter. The texture difference is minimal when using a well-formulated flour blend, making it easy to enjoy dairy-free gluten free waffles without compromise.
-
Egg-Free / Vegan Waffles
Substitute each egg with either a commercial egg replacer (follow packet instructions) or a flax egg. The waffle will be a bit less rigid and still very tasty and delicious to eat. Pair with a reliable gluten free waffle mix base for the most consistent vegan result.
-
Savoury Waffles
Omit sugar and vanilla entirely. To the dry mix, add 50-60g grated cheese and a tablespoon of fresh chives or garlic powder. Savoury waffles made with gluten free plain flour or self raising flour make an excellent base for brunch dishes or a hearty side to soup.
Storage, Freezing & Reheating Instructions
-
Refrigerator
Cool and stack waffles in an airtight container with a little baking paper between the waffles to prevent sticking for up to 3 days.
-
Freezer
Flash-freeze gluten free waffles in a single layer on the tray for 1 hour before transferring to a freezer-safe bag. They can be stored for at least 3 months and make for a super quick morning meal on a weekday, which is handy if you prepare a double amount of the best gluten free waffle recipe on a weekend.
-
Reheating Method
Put in the toaster or air fryer and reheat at 180°C directly from the freezer for 2-3 minutes. This will allow you to achieve a crispiness every time. Do not microwave it, as moisture is added back and it ends up chewy and soft, which is the opposite of the desired effect.
Discover Our Full Gluten Free Product Range
Shop with confidence. See full product info, certifications, and the best Gluten Free Flours for your next bake.
Top Topping Combinations
-
Classic Aussie Brunch
Lightly whipped cream, pure maple syrup and fresh strawberries. Simple, enjoyable and lets the flavour of a good waffle do the talking.
-
Decadent Sweet
Banana slices, a drizzle of warm chocolate sauce, and roughly chopped toasted macadamias. A combination of textures that works particularly well against the crispy waffle shell.
-
Savoury Brunch Special
Crispy bacon rashers, a softly poached egg and a restrained drizzle of hot honey. A balanced combination of salt, fat, and gentle heat that makes for a complete and satisfying brunch dish.
Conclusion
The thing about gluten free waffles is that it's not difficult to make them crispy on the outside and fluffy and light on the inside. It needs a special flour mixture, a brief rest, good heat control and a wire rack. These are not high-level processes; they are habits, and habits are easy to do and can be repeated indefinitely with the same outcome every time.
Flour quality is the basis of all this. Whether you are using the best gluten free waffle recipe from scratch or modifying it for a specific diet, a purpose-made gluten free plain flour, or self raising flour like those from us, makes ratios easy to understand, guarantees your product is coeliac-friendly, and guarantees it is structurally balanced for all of these techniques to be a reality.
Explore our range of Coeliac-certified flours on our website and get café-quality results shipped straight to your door across Australia.
