Professional-Grade Gluten Free Flours | Vegan & Allergy Friendly | Australia-Wide Delivery


· By R2R Team
How to Make Gluten-Free Breadcrumbs from Leftover Loaf Ends
Quick Summary
Save your gluten-free loaf ends, cut them into small cubes, and toast them in an oven at 175°C for 10–15 minutes until they dry and crisp. Once cooled, put them in a food processor or blender to your preferred texture: fine or coarse. That's it. Four simple steps stand between your leftover bread crusts and a batch of gluten free breadcrumbs that are fresher, tastier, and more cost-effective than anything from the supermarket.
Every loaf of bread produces the heels, the end slices, and the crusts nobody wants to eat plain. In a regular kitchen, these are usually thrown away. However, in a gluten-free home, where quality bread can be pricier, more time-intensive and can sometimes be made with special, high-quality ingredients, it is a true waste to throw those ends away.
Gluten free breadcrumbs come in very handy. They add texture to otherwise bland dishes, crisp up casseroles, coat proteins, and bind patties. The problem? Most store-bought versions are disappointingly stale, overly dry, or packed with additives that have no business being in a pantry staple.
Making your own homemade gluten free breadcrumbs solves all of that. This blog walks you through exactly how to make gluten free breadcrumbs from the bread ends you'd otherwise discard, step by step, with storage tips, flavour variations, and practical uses included.
Why Save Your Leftover Gluten-Free Loaf Ends?

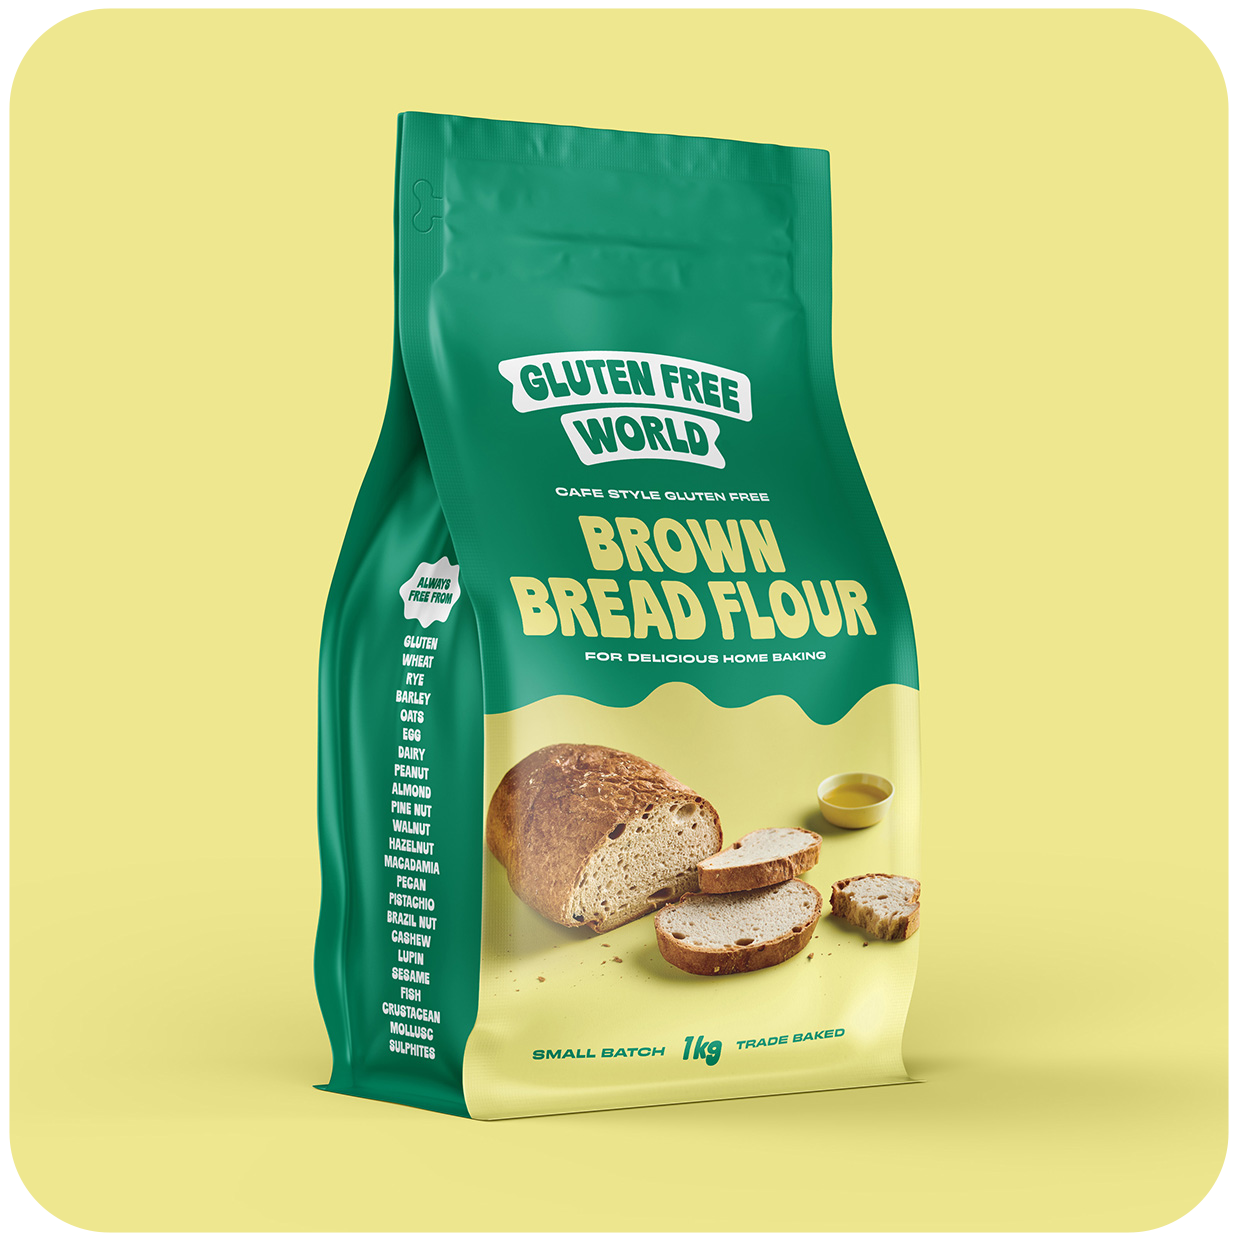
If you've ever baked a loaf using a gluten free world bread flour home bakers and coeliac households rely on, you know that premium gluten-free baking comes at a cost both in time and money. That makes every slice count. Here's why saving your loaf ends is worth the habit:
-
Cost Efficiency
Gluten-free bread, whether store-bought or home-baked, represents a meaningful investment per loaf. By using the ends and heels for gluten free breadcrumbs, you're maximising the use of your investment and preventing another kitchen sink waste.
-
Zero Food Waste
The rest of the loaf is nutritionally equivalent to the crusts and heels. Transforming them into a usable pantry ingredient is one of the easiest zero-waste habits to build, especially for households regularly baking with a trusted gluten free bread mix Australia brands endorse, such as those available at Gluten Free World.
-
Better Texture & Taste
This is where homemade gluten free breadcrumbs genuinely outperform anything from the supermarket shelf. Commercial GF breadcrumbs are often overprocessed (they are dry enough, but not in the right way), flavourless, and often contain unnecessary additives. Fresh crumbs have a much better crust and a more interesting taste, especially when lightly flavoured.
Discover Our Full Gluten Free Product Range
Shop with confidence. See full product info, certifications, and the best Gluten Free Flours for your next bake.
Fresh vs. Dried Gluten-Free Breadcrumbs: What's the Difference?
Not every bread crumb is the same. Before you start, it helps to know which type you're making and why.
| Feature | Fresh GF Breadcrumbs | Dried GF Breadcrumbs |
|---|---|---|
| Moisture Content | Slightly moist/soft | Completely dry/dehydrated |
| Best Uses | Meatballs, meatloaf and veggie patties (binders) | Chicken schnitzel, casserole toppings, fish coatings |
| Shelf Life | 2–3 days (fridge) | Up to 1 month (pantry) / 3 months (freezer) |
| Prep Method | Pulse stale bread directly | Bake before/after pulsing to eliminate moisture |
Fresh breadcrumbs are made by simply pulsing stale (not toasted) bread. They can still be soft and are best used as the fillings in meatballs, burger patties and meatloaf, which require moisture retention and not crunch.
Dried breadcrumbs go through a dehydration step, first baked until completely moisture-free, which gives them shelf stability and a crisp texture that is ideal for coatings and toppings. The focus of this blog will be dried gluten free breadcrumbs since they are more versatile and can be stored.
Ingredients & Equipment Needed
It doesn't take much. That's part of what makes this worth doing.
Ingredients:
-
Leftover ends and crusts from any gluten-free bread loaf, including homemade loaves baked with a quality gluten free bread mix Australia kitchens trust, such as gluten free world bread flour
-
Optional seasonings: sea salt, garlic powder, dried Italian herbs, onion powder, and smoked paprika
Equipment:
-
Baking sheet and parchment paper
-
A food processor or high-speed blender (or, a sealable freezer bag and rolling pin will do in a pinch)
-
An airtight container is best
Put the ends into a zip-lock bag in the freezer to collect. Once you've accumulated 2–3 cups of bread scraps, you're ready to begin learning how to make gluten free breadcrumbs the right way.
Step-by-Step Guide: How to Make Gluten Free Breadcrumbs from Leftover Loaf Ends
1️⃣ Step 1: Collect & Cube the Bread Ends
Take out the frozen bits and let them thaw for a short time, until they are soft enough to cut, but not crumbly. Remember to cut or tear them into a uniform size (2 cm/1 inch) so that they will dry evenly.
One important note: do not remove the crusts. Here, the crust is actually a benefit as it dries out quicker, toasts more evenly and contributes to the colour and depth of flavour in the crumbs.
2️⃣ Step 2: Pre-Dry in the Oven (Dehydration)
Preheat your oven to 175°C. Put the bread cubes on a lined baking tray in a single, even layer of bread; do not stack or overlap, as it will stop steam from rising and will slow down the drying time.
Bake for 10-15 minutes, turning the cubes once after about half of that time. You're aiming for bread that feels completely dry and crisp when pressed, with no colour change yet. The goal at this stage is moisture removal, not browning.
3️⃣ Step 3: Pulse to Desired Consistency
Take the tray out of the oven and let the cubes cool for a few minutes; otherwise the air may build up steam in the processor and alter the texture.
Move them to a food processor or high-speed blender in small batches. Do not overfill the bowl; work in rounds for more consistent results.
-
Fine crumbs: Process in longer, sustained pulses for a smooth, even texture ideal for coatings that need to adhere closely or for binding meatballs and patties.
-
Coarse / panko-style crumbs: Use short, sharp pulses and stop early. When the crumb size is larger and irregular, it'll make a more dramatic crunch and is perfect for dishes that are going to be topped and for golden crusts.
4️⃣ Step 4: Final Toasting & Cooling
Stir ground crumbs back onto the baking tray in a thin, even layer. Return to the oven at 175°C (350°F) for a further 8–10 minutes, stirring halfway through, until the crumbs are evenly golden and fragrant.
-
The most critical step is what comes next: once the crumbs have cooled completely on the tray, move them to any storage container. This is non-negotiable. When cooking, steam escapes from warm crumbs, and trapped steam or even small condensation is sufficient to make crisp homemade gluten free breadcrumbs soggy or even mouldy while being stored.
Place them on an open tray at room temperature for at least 20–30 minutes before sealing.
Flavour Variations: Custom Seasoning Blends
Although plain breadcrumbs are versatile, seasoned crumbs can add greatly to a dish. Add your chosen seasoning blend during or after the final toasting step, tossing to coat evenly.
-
Classic Italian Blend: Dried oregano, basil, garlic powder and fine sea salt. Perfect for schnitzel and baked pasta dishes.
-
Savoury Garlic & Herb: Granules of garlic, dried parsley and onion. Works well in chicken, fish and vegetable coatings.
-
Cheesy Parmesan Crust: Mix dry crumbs and finely grated parmesan cheese. Use immediately or store in the fridge; this variation doesn't keep at room temperature.
-
Smoked Paprika & Chilli: Smoked paprika, black pepper and a pinch of cayenne. Adds warmth and depth to fried or baked proteins.
Discover Our Full Gluten Free Product Range
Shop with confidence. See full product info, certifications, and the best Gluten Free Flours for your next bake.
Best Uses for Homemade Gluten-Free Breadcrumbs
With a jar of these on hand, you'll find yourself going back to it again and again. The common characteristic of all the best gluten free breadcrumbs, store-bought or homemade, is that they are totally dry, evenly textured and filled with flavour. When you make your own, you control all three. Here's where they shine:
-
Crispy Coatings: The most obvious use for the best gluten free breadcrumbs you'll ever make. Cover your chicken schnitzel or fish fillets with fried chicken coating or halloumi coating to get a crisp, crispy texture that is good in the oven or pan.
-
Binder for Meatballs & Burgers: For beef, chicken, or plant-based patties, fresh or lightly dried crumbs will help keep them moist but not dense.
-
Casserole & Pasta Topping: Sprinkle over baked gluten free macaroni and cheese or vegetable gratin for a crunchy golden brown finish to elevate the dish.
How to Properly Store Homemade GF Breadcrumbs
You know you have a smart pantry ingredient when you can store it properly instead of, a week later, finding that it's a soggy mess.
-
Pantry (Room Temperature): Store in an airtight glass jar in a cool, dark place for up to 4 weeks. The crumbs must be 100% moisture-free before sealing.
-
Refrigeration: Prolongs shelf life up to 6 weeks. Appropriate in humid climates with poor pantry storage conditions.
-
Freezer: Store in a freezer in a sealed container or freezer bag for 3 months. Gluten free breadcrumbs can be frozen and don't need to be thawed before using.
Label your containers with the date made so you're always working within safe storage windows.
Conclusion
Knowing how to make gluten free breadcrumbs from leftover loaf ends takes less than 30 minutes of active time and delivers a product that genuinely outperforms most commercial alternatives in both texture and flavour. It's a simple and easy habit that cuts down on food waste, saves money and means you'll always have the best gluten free breadcrumbs you've ever made in your own kitchen, made from scratch.
It's a very simple procedure: cube, dehydrate, pulse, toast, cool, and store. Use as needed for any meal you prepare, and keep it on hand in the freezer or pantry. And once you've mastered homemade gluten free breadcrumbs, the natural next step is perfecting the loaf itself.
Visit our website today to find out about our range of gluten free bread mix Australia home bakers trust best and all of our Coeliac Australia-endorsed baking mixes.
