Professional-Grade Gluten Free Flours | Vegan & Allergy Friendly | Australia-Wide Delivery


· By R2R Team
Gluten-Free Pizza Guide: How to Get Wood-Fired Results at Home
If you have ever pulled a gluten free pizza out of the oven and been met with a soggy, limp, or crumbly base, you are not alone. It is among the most popular frustrations for home bakers who follow a gluten-free diet. The good news? A disappointing crust is not inevitable. With the right technique and the right flour, you can achieve what most people think is impossible at home: the gluten free crunch.
The crunch of a wood-fired pizzeria has a very specific character. Think charred, bubbly edges, a firm golden base, and a bite that keeps its structure despite the toppings. It is what will make the difference between a good and a bad gluten free pizza.
This blog will show you precisely how to achieve those professional outcomes with a common home oven and gluten free pizza flour from Gluten Free World.
Why Gluten-Free Pizza Gets Soggy (and How to Prevent It)
Before resolving the problem, it helps to understand why it happens. Gluten free pizza dough does not act in the same way as the traditional dough made of wheat. The absence of gluten to give the dough structure and elasticity depends on other binders, and it increases the moisture content. That moisture, unless handled properly, is the main factor that makes your crust not crisp but soft and makes it so hard to get a true gluten free crunch.
-
Moisture Management
Gluten-free dough typically requires high hydration to remain pliable and workable. The difficulty is that this same moisture, unless beaten out in baking, makes a steamy, heavy bottom. The solution is not to reduce the water in the dough but to bake it long enough for the moisture to evaporate before adding toppings. Par-baking the base first is a non-negotiable step for a crispy gluten free pizza crust.
-
Steam Traps
Directly baking onto a flat tray or parchment paper forms an enclosed area underneath the dough. The steam has no direction to go and thus condenses back to the base. One of the least considered reasons for soggy crusts is the steam. The result is instantly changed when a perforated tray or a preheated pizza stone is used, as it lets the air move around and the moisture on the bottom evaporate.
-
Topping Overload
Putting excessively wet toppings on it, such as heavy tomato sauce, fresh mozzarella, or watery vegetables, is a quick way to become soggier. Unbaked dough is unable to hold the weight and the moisture of a full load of gluten free pizza during the period required to cook. Par-baking resolves this issue as well. After the base has been set, it is able to hold toppings without soaking up too much liquid.
Discover Our Full Gluten Free Product Range
Shop with confidence. See full product info, certifications, and the best Gluten Free Flours for your next bake.
Essential Tools for the "Wood-Fired" Effect at Home
To achieve a wood-fired flavour, you do not have to use a wood-fired oven. To get a regular, crispy gluten free pizza crust, you need the appropriate tools and the appropriate method.
-
Pizza Stone or Steel
This is the single most effective upgrade you can make. A pizza stone or baking steel, preheated in your oven for at least 30 to 45 minutes, stores and radiates intense heat from below. This replicates the hot floor of a commercial wood-fired oven, which is what makes pizzeria bases their gluten free crunch. Put your stone in the bottom rack of the oven and leave it there until it is completely heated, then place anything you want to bake on the stone.
-
High Temperature
Preheat your oven to at least 200°C on fan-forced. When your oven can go higher, use it. The faster the surface of the dough heats up, the sooner moisture evaporates, and the crust begins to form. A low-temperature oven provides more time for the moisture to get back into the pizza dough instead of evaporating into steam, the enemy of any crispy gluten free pizza crust.
-
Pizza Trays with Holes
In the absence of a stone, a perforated pizza crisper pan is the next best thing. The holes enable the circulation of hot air under the dough directly, and this greatly enhances the texture of your gluten free pizza compared to a solid flat tray. It is a cheaper and easily applicable solution that can make an actual difference to the end outcome.
Featured Recipe: The Ultimate Crispy Gluten-Free Pizza Base

Preparation Time: 25 minutes Serves: 2 people
Ingredients
-
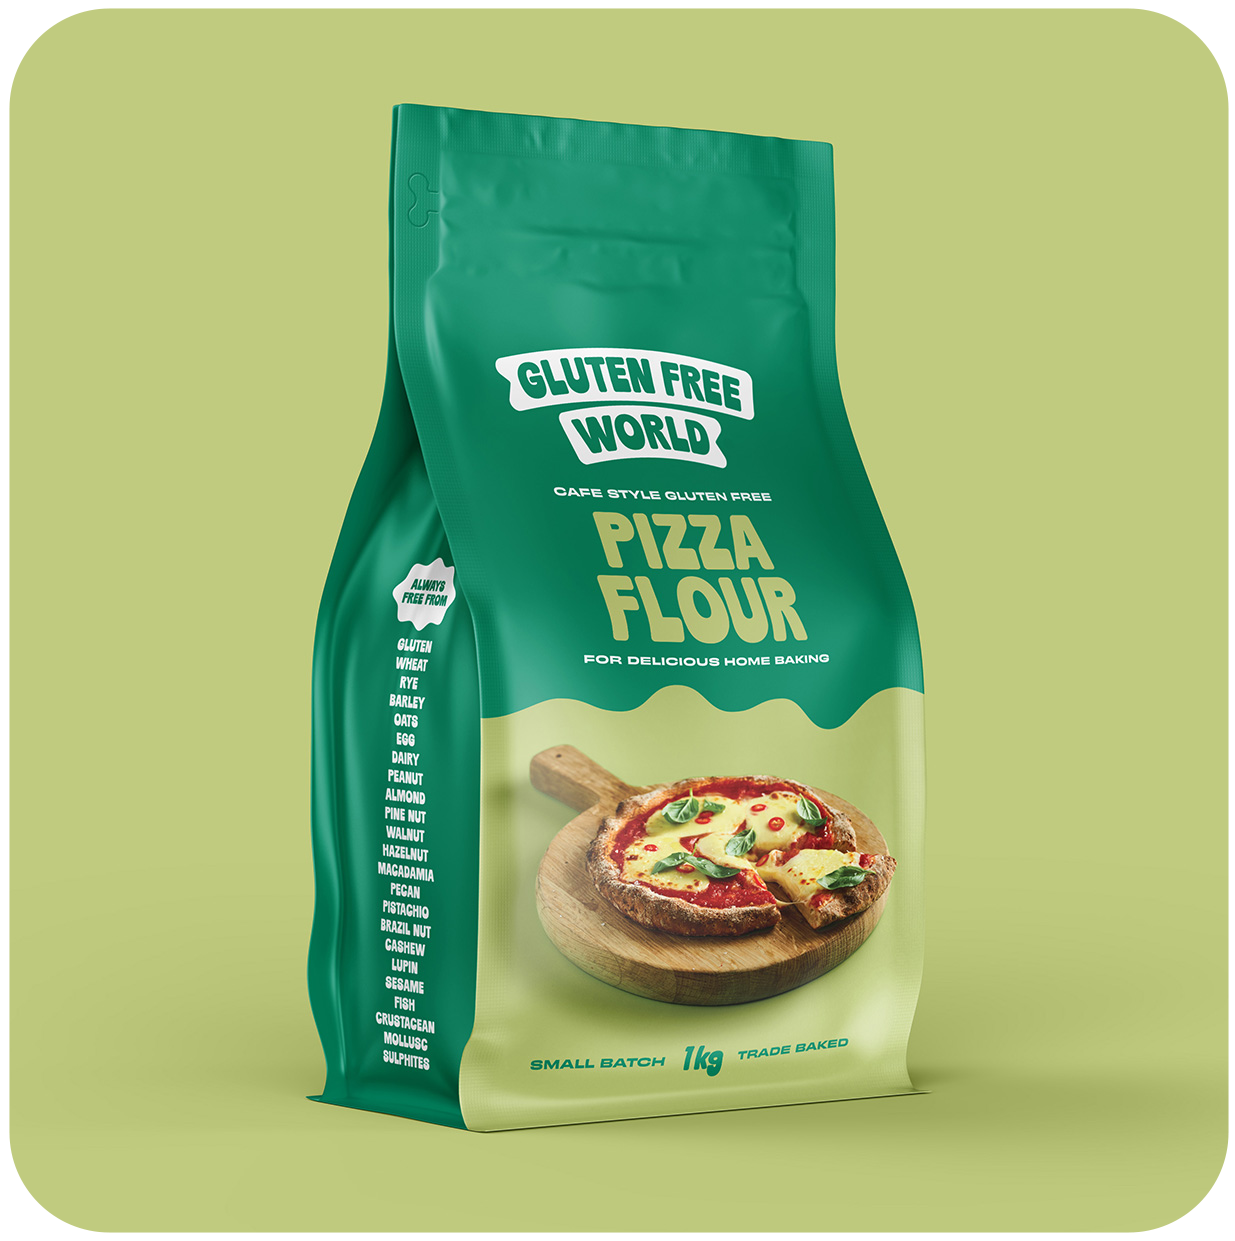
225g Gluten Free World Pizza Flour. This is a combination of psyllium, which is what gives the gluten free pizza flour blends their stretch and structure.
-
Pinch of salt.
-
200ml warm water.
-
1 tablespoon olive oil, plus extra for handling.
-
Choice of toppings.
Method
-
Mix
Mix the Gluten Free World Pizza Flour, salt, warm water and olive oil in a stand mixer with a hook attachment. Knead on medium speed (5 minutes) until the dough is smooth and uniform. Dough will be sticky, which is right and expected. Do not add more flour.
-
Shape
Oil a 30cm round baking tray. Pour the dough onto the tray and press and spread it evenly with oiled hands, starting from the centre and moving outward. Move very slowly and steadily, and push towards the edges to form a rim that is slightly thicker around the border. What you want is for the crust to remain unchanged without the oil making the dough stick to your hands, and that is exactly what you want when aiming for that gluten free crunch.
-
Par-Bake
Heat the base in a preheated oven at 200°C (fan-forced) and bake for 10 minutes. This step determines the arrangement of the crust before any toppings are put on. When it comes out, it should be light golden on the surface, with the edges being dry. This is an important step in obtaining a crispy gluten free pizza crust.
-
Top and Finish
Take the par-baked base out of the oven. Add your desired toppings: First, add the sauce, then the cheese, and finally all the other items. Place the pizza back in the oven and cook until the sides are golden, the bottom is cooked through, and the cheese is bubbling. The timing will depend on your oven and topping preferences, but on average, 10 to 15 minutes will be enough.
Discover Our Full Gluten Free Product Range
Shop with confidence. See full product info, certifications, and the best Gluten Free Flours for your next bake.
Expert Tips for Maximum Crunch
Getting a remarkable result consistently comes down to a handful of decisions made during mixing and shaping. These are not optional refinements, but the difference between a gluten free pizza that can hold up and one that collapses.
-
Hydration is Key
High hydration is not a flaw in gluten-free dough; it is a feature. The water content is what allows the dough to stretch thin without tearing. A workable dough is sticky. Have faith in the process, oil your hands rather than add more flour, and the dough will act. Reducing the quantity of water to simplify working with the dough will cause it to form a thick, dry crust that will crack instead of crisping.
-
The Wire Rack Trick
When the pizza is in the oven, do not leave it in the tray. Put it on a wire cooling rack right away, and let it rest for one to two minutes, then slice. This is a simple measure that ensures steam escapes from the bottom instead of condensing there. The difference is a crust, which remains crisp on cutting, and that which turns soft in a few minutes out of the oven.
-
Avoid Flour Overload
Add oil to your hands and the tray when rolling the dough, not flour. The surface may be sprinkled with additional gluten free pizza flour during shaping to form a dry, chalky surface that does not bake evenly and can form a pale, powdery crust. Oil makes the dough easy to work with and the surface brown during baking.
Why Choose Gluten Free World

The type of flour you work with is the determining factor of your outcomes. When you really want the best gluten free flour for pizza, the formulation is more important than what most people have realised. Standard blends come in a wide range of quality, most of which form crusts that are either excessively dense, overly dry or structurally unsound under the toppings.
Our gluten free pizza flour is designed to make gluten free pizza, whereby psyllium is incorporated in the mix to imitate the stretch and structural integrity that gluten gives in normal dough.
That means a crust that can be spread thin, hold its shape during baking, and support toppings without collapsing.
What is produced is a uniform, crispy gluten free pizza crust, which gives it a real gluten free crunch, which most off-the-shelf blends can only imitate. If you want the best possible outcome at home, starting with the best gluten free flour for pizza from Gluten Free World is the most important decision you can make.
Conclusion
A wood-fired crunch at home is not a myth. It comes down to three things: high heat, proper equipment and a good blend of flour that is designed to work. Keep your moisture, par-bake your crust, place the base on a stone or perforated tray, and allow your gluten free pizza to rest on a wire rack, then slice it. Use the above method, and the results will speak for themselves.
Visit our website or contact us to pick your best gluten free flour for pizza and make your next pizza night one worth remembering.
