Professional-Grade Gluten Free Flours | Vegan & Allergy Friendly | Australia-Wide Delivery


· By R2R Team
Gluten-Free Damper: The Camp Oven Classic, Done Properly
Quick Answer
Gluten free damper is a quick, yeast-free Australian bush bread made with gluten free self raising flour, butter (or plant butter), salt, and liquid such as water, milk, or dairy-free milk. Baked in a camp oven over coals or in a home oven, it develops a crusty exterior with a soft, fluffy interior and can be ready in under 35 minutes.
Golden on the outside, soft and fluffy on the inside, and cooked in less than 35 minutes, there's nothing more quintessentially Australian than damper cooked over hot campfire coals. Damper is the traditional stockman's, drover's and outdoor adventurer's bush bread for generations. Today, it holds just as much appeal around a campfire or family dinner table.
But for Australians living with coeliac disease or gluten sensitivity, traditional damper recipes are simply off the menu. Most gluten-free attempts fall flat literally. The outcome is frequently hard, dry, or crumbly; it barely holds together when sliced. The problem almost always traces back to one thing: the wrong flour.
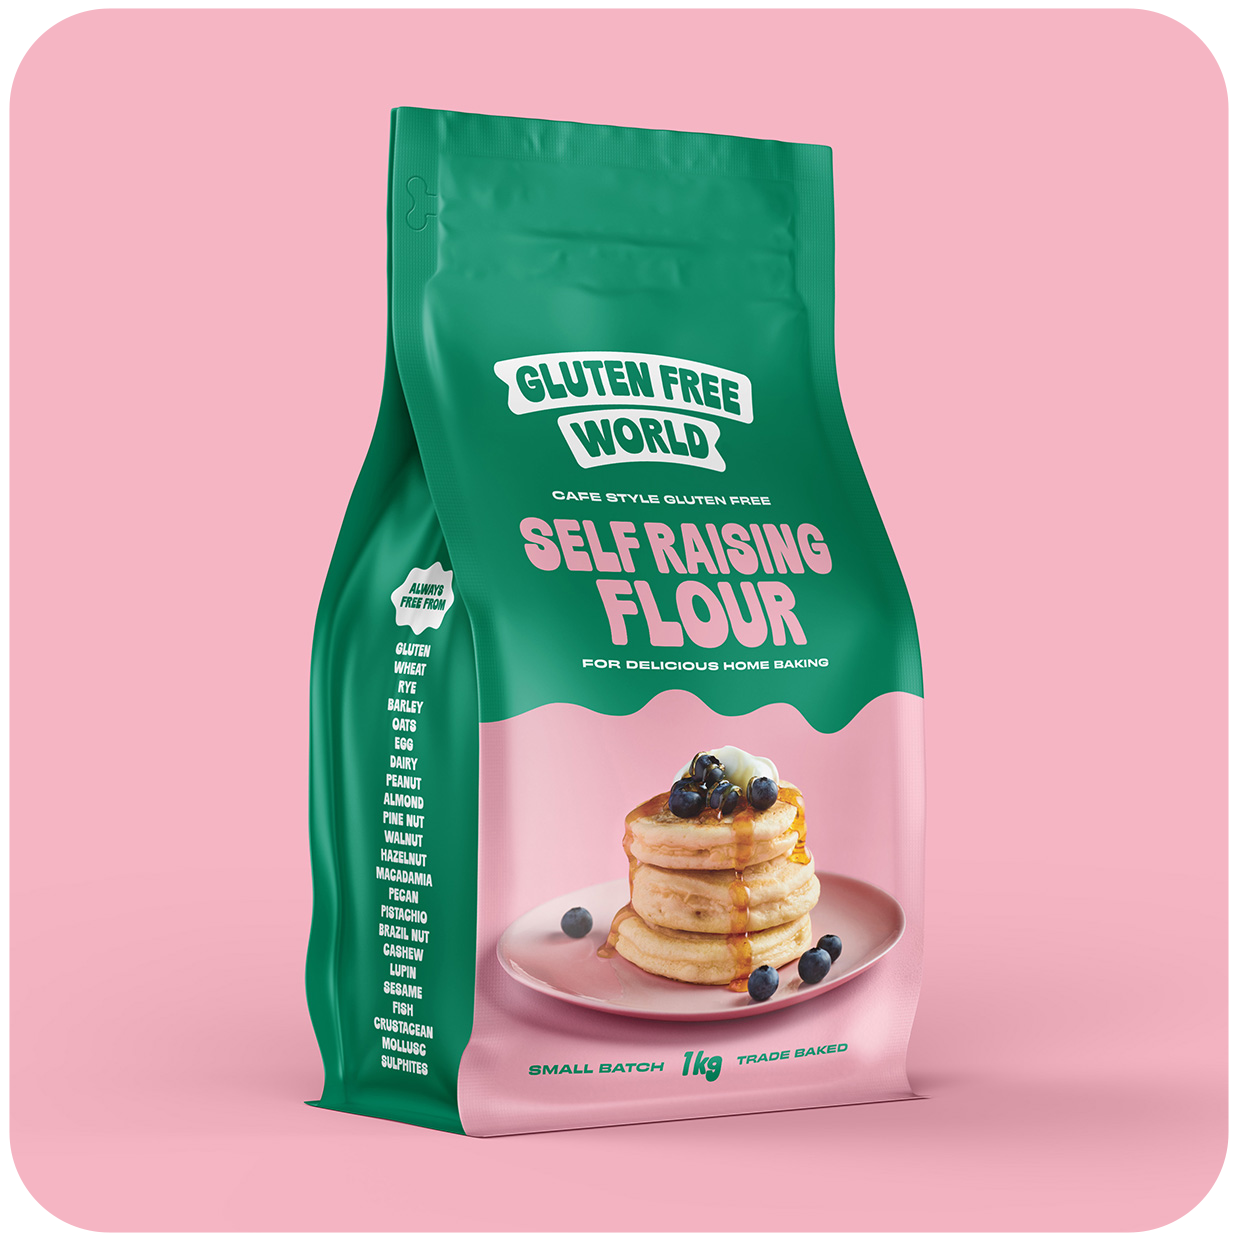
Making a really good gluten free damper begins with the gluten free self raising flour, which is specifically designed with the correct starches and binders to create the structure and softness of wheat flour. Get that right, and everything else falls into place.
In this blog, you will learn how to make gluten free damper that delivers on every level, whether you are baking it over campfire coals in a cast-iron camp oven or pulling it fresh from your kitchen oven at home.
What is Traditional Australian Damper?
Historical Context
One of Australia's most unique bush foods, damper is a basic, no-leavening soda bread that fed stockmen, drovers and swagmen for generations in the Australian outback. It was prepared from only flour, water, and salt; it was cooked over a campfire or cast-iron camp oven filled with hot coals.
Damper is still very much a part of Australian food today, ranging from school camp days to family outback experiences. But for the growing number of Australians living with coeliac disease or gluten intolerance, the traditional recipe is off the table. That's where gluten free damper steps in, offering the same rustic, satisfying experience without a trace of wheat.
The Gluten-Free Challenge
It is not easy to find an alternative to wheat flour for making damper. Standard gluten-free attempts often result in:
-
Dry, dense crumb that sits heavy and unpleasant.
-
Gritty texture from poorly blended flour mixes.
-
Structural collapse damper that crumbles the moment you slice it.
-
Undercooked centres due to poor moisture distribution.
The root cause is the absence of gluten. In the traditional baking of bread, gluten is the protein that not only makes the dough elastic but also helps to hold it together and retain the gas created by the leavening agents. Without it, moisture control and binder selection become absolutely critical.
The Solution

The key to solving gluten free damper lies in the flour blend. Not all gluten-free flours are equal; single-ingredient alternatives like rice flour or tapioca starch alone cannot replicate wheat flour's structural behaviour. A purpose-formulated gluten free self raising flour is essential for getting a stretch, a structure and a crumb that makes damper worth eating, as it includes complementary starches and a binding agent (like xanthan gum).
Gluten Free World's speciality gluten-free flour is engineered specifically for this purpose to have a fine, consistent texture yet behave like wheat flour in the baking process without the grit or fragility of most home-baked efforts.
Key Ingredients & Equipment Needed
Ingredient List & Exact Function
Each of the ingredients in this recipe serves a particular purpose. Knowing the reason for every one of them enables you to troubleshoot and make adjustments with confidence.
-
Gluten Free Self Raising Flour (3 cups / ~360g): The foundation of the recipe. Gluten Free World SR Flour is the recommended choice; it contains an optimal blend of starches and xanthan gum that provides the structure and rise needed for a proper damper crumb.
-
Baking Powder (1 tsp extra, optional): If you are leavening the damper in a camp oven (where the heat distribution is not quite as controlled), then an extra tsp of baking powder will give it the extra lift.
-
Salt (½ tsp): Flavour balance. Salt enhances the natural taste of the flour and prevents the damper from tasting flat.
-
Chilled Butter or Nuttelex (80g): The fat source. The rubbing of cold butter into flour coats the starch granules and results in a flaky crumb structure. Nuttelex works equally well for a dairy-free version.
-
Milk or Water (¾ to 1 cup): Cold liquid binds the dough without warming the butter prematurely. Dairy-free milks (oat, almond, and soy) all work well as substitutes.
Required Equipment
For Campfire Cooking:
-
A cast iron camp oven (Dutch oven)
-
Trivet or small rack to elevate the damper from the base
-
Baking paper
-
Hot campfire coals (not an open flame)
For Home Oven Cooking:
-
Heavy baking tray or preheated Dutch oven
-
Baking paper
-
Oven thermometer (recommended for accuracy)
Discover Our Full Gluten Free Product Range
Shop with confidence. See full product info, certifications, and the best Gluten Free Flours for your next bake.
Step-by-Step Instructions: How to Make Gluten-Free Damper
Step 1: Prep the Dry Mix (Great for Camping Pre-Mix)
In large mixing bowl, mix the gluten free self raising flour, extra baking powder and salt. Stir for a short time to ensure even distribution of baking powder and salt in the flour.
Camping tip: Pre-measure your dry ingredients at home and seal them in a zip-lock bag or airtight jar before heading out. This saves the time of taking measurements on-site and speeds up preparation considerably.
Step 2: Rub in the Fat
Add the chilled butter (small bits of about 1 cm) to the dry flour mixture. With light, quick strokes, rub and press the butter into the flour with the figertips from the outside of the bowl towards the centre.
Repeat until it is like coarse breadcrumbs; there shouldn't be any big chunks of butter left. Move swiftly so that butter doesn't melt in your hands as well. Or mix the flour and butter in a food processor for 10-15 seconds.
This is what makes a tender gluten free damper with a flaky texture and not biscuit-like.
Step 3: Hydrate & Form the Dough
Put a hole in the centre of the flour and butter mixture. Add ¾ cup of cold milk or water.
With a butter knife or fork (not hands at this time), carefully cut through and fold the liquid into the dry mixture. Add the ingredients and just combine them until the dough is holding together; do not over-knead.
Crucial rule: Do not over-knead gluten-free dough. Unlike wheat dough, overworking GF dough doesn't improve structure; it makes the texture gummy and causes the dough to tighten up during baking. If dough is too stiff or dry after the initial mixing, add extra liquid one tablespoon at a time until it holds together without cracking.
Step 4: Shape and Score
Dust the clean surface with gluten-free flour and turn out the dough. With hands, tip the dough over to make a round, flat dome about 18-20 cm in diameter and 5-7 cm high. Be careful not to roll it too thin, or the gluten free damper may overcook too quickly and not get a good crust.
Cut an "X" on the top of the damper with a sharp knife, making a shallow cut. It's not just for looks; it also ensures that heat reaches the middle of the dough evenly, and it provides space for the damper to rise without splitting at random.
Step 5: Baking Methods
Method A: Camp Oven over Coals
Line the base of the camp oven with a sheet of baking paper, or place the damper on a small trivet wrapped in foil to keep it elevated from the base.
-
Place the camp oven over a light layer of hot coals; avoid positioning it directly over an active flame, which scorches the base before the centre cooks through.
-
Place a generous layer of coals on the lid to create top-down heat. This dual-heat approach mimics the even radiant heat of a conventional oven and is what gives a camp oven damper its signature golden crust.
-
Bake for 25 – 35 minutes, checking every 15 minutes by opening the lid a little to check it.
Method B: Standard Home Oven
-
Preheat oven to 200°C, or if it is fan-forced, then keep it at 180°C.
-
Move the shaped dough to a parchment-lined baking tray, or lower it in a preheated Dutch oven for a crisper result.
-
Bake for 25–30 minutes until the crust is deep golden brown.
How to Test for Doneness and Serving Suggestion
The best test for the doneness of damper is to gently pick it up and tap the bottom of it with your knuckles. If it sounds hollow, it is fully cooked through. If it sounds dense and solid, return it to the heat for a further 5 minutes and test again.
Serve warm, torn or sliced, with:
-
Thick, salted butter
-
Golden syrup or honey (cocky's joy, as the drovers called it)
-
A hearty camp stew or soup in a bowl
Discover Our Full Gluten Free Product Range
Shop with confidence. See full product info, certifications, and the best Gluten Free Flours for your next bake.
Pro-Tips for Perfect Non-Crumbly GF Damper
Rest the Dough (5–10 mins)
Wait for 5-10 minutes to let the dough rest before shaping and baking. This is particularly crucial if you are using gluten free self raising flour, as the flour contains flour starches, which need a chance to absorb the liquid; otherwise, the dough will have a gritty, underhydrated consistency. The gluten free damper will be noticeably smoother and more cohesive after resting.
Don't Skimp on Fat
Fat is the moisture-locking mechanism in gluten-free baking. The butter coats up the starch molecules in the flour, prevents the escape of water when cooking, and keeps it soft long after the damper has finished cooking. Reducing the butter quantity to cut calories will result in a drier, more crumbly damper, particularly noticeable the next day.
Heat Distribution in Camp Oven
Controlling heat is the single biggest variable in camp oven baking. The goal is low bottom heat and high top heat. Too hot from the bottom will burn the bottom of the crust before it's done, while too cool on top will produce a pale, under-baked crust. Aim to use older, slightly cooler coals under the oven and fresh, hotter coals on the lid for best results.
Conclusion
Gluten free damper is not a compromise; it's a true rendition of an Australian classic that can be enjoyed by all at the table, regardless of dietary requirements. With the right gluten free self raising flour, the right technique and a little patience, you can make a damper with a crackled golden crust, a soft, fluffy interior and no grittiness or crumble.
For coeliac-safe, certified gluten-free flours, baking mixes, and more Australian gluten-free recipes, visit our website and make your next camp oven session one the whole group can share.
